How to check and clean golf buggy battery terminals, step by step
By James Brown · Updated 21 July 2026 · 5 minute read

Checking and cleaning battery terminals is a safe owner job that cures many dead, weak and cutting-out faults, done with the buggy off, eye protection on, and care not to bridge terminals with a tool. Look for corrosion and looseness, clean to bright metal, tighten correctly, and protect. Stop and get help if any battery is swollen, leaking or hot.
Key takeaways
- Corroded or loose terminals cause many dead, weak and cutting-out faults, and this fixes them.
- Do it with the buggy switched off, eye protection on, in a ventilated space.
- Never let a spanner or jewellery bridge two terminals, which causes a dangerous short.
- Clean to bright metal, tighten correctly, and protect against future corrosion.
- Stop and get help if any battery is swollen, cracked, leaking or hot.
What you need
A small kit does this job: eye protection and ideally gloves, a suitable spanner for the terminal bolts, a wire brush or terminal cleaner, a cloth, and something to protect the terminals afterwards. Have the battery safety guide in mind, because you are working on the batteries, and remove any watch, rings or metal jewellery before you start, since those can bridge a connection and cause a dangerous short.
Before you start, make it safe
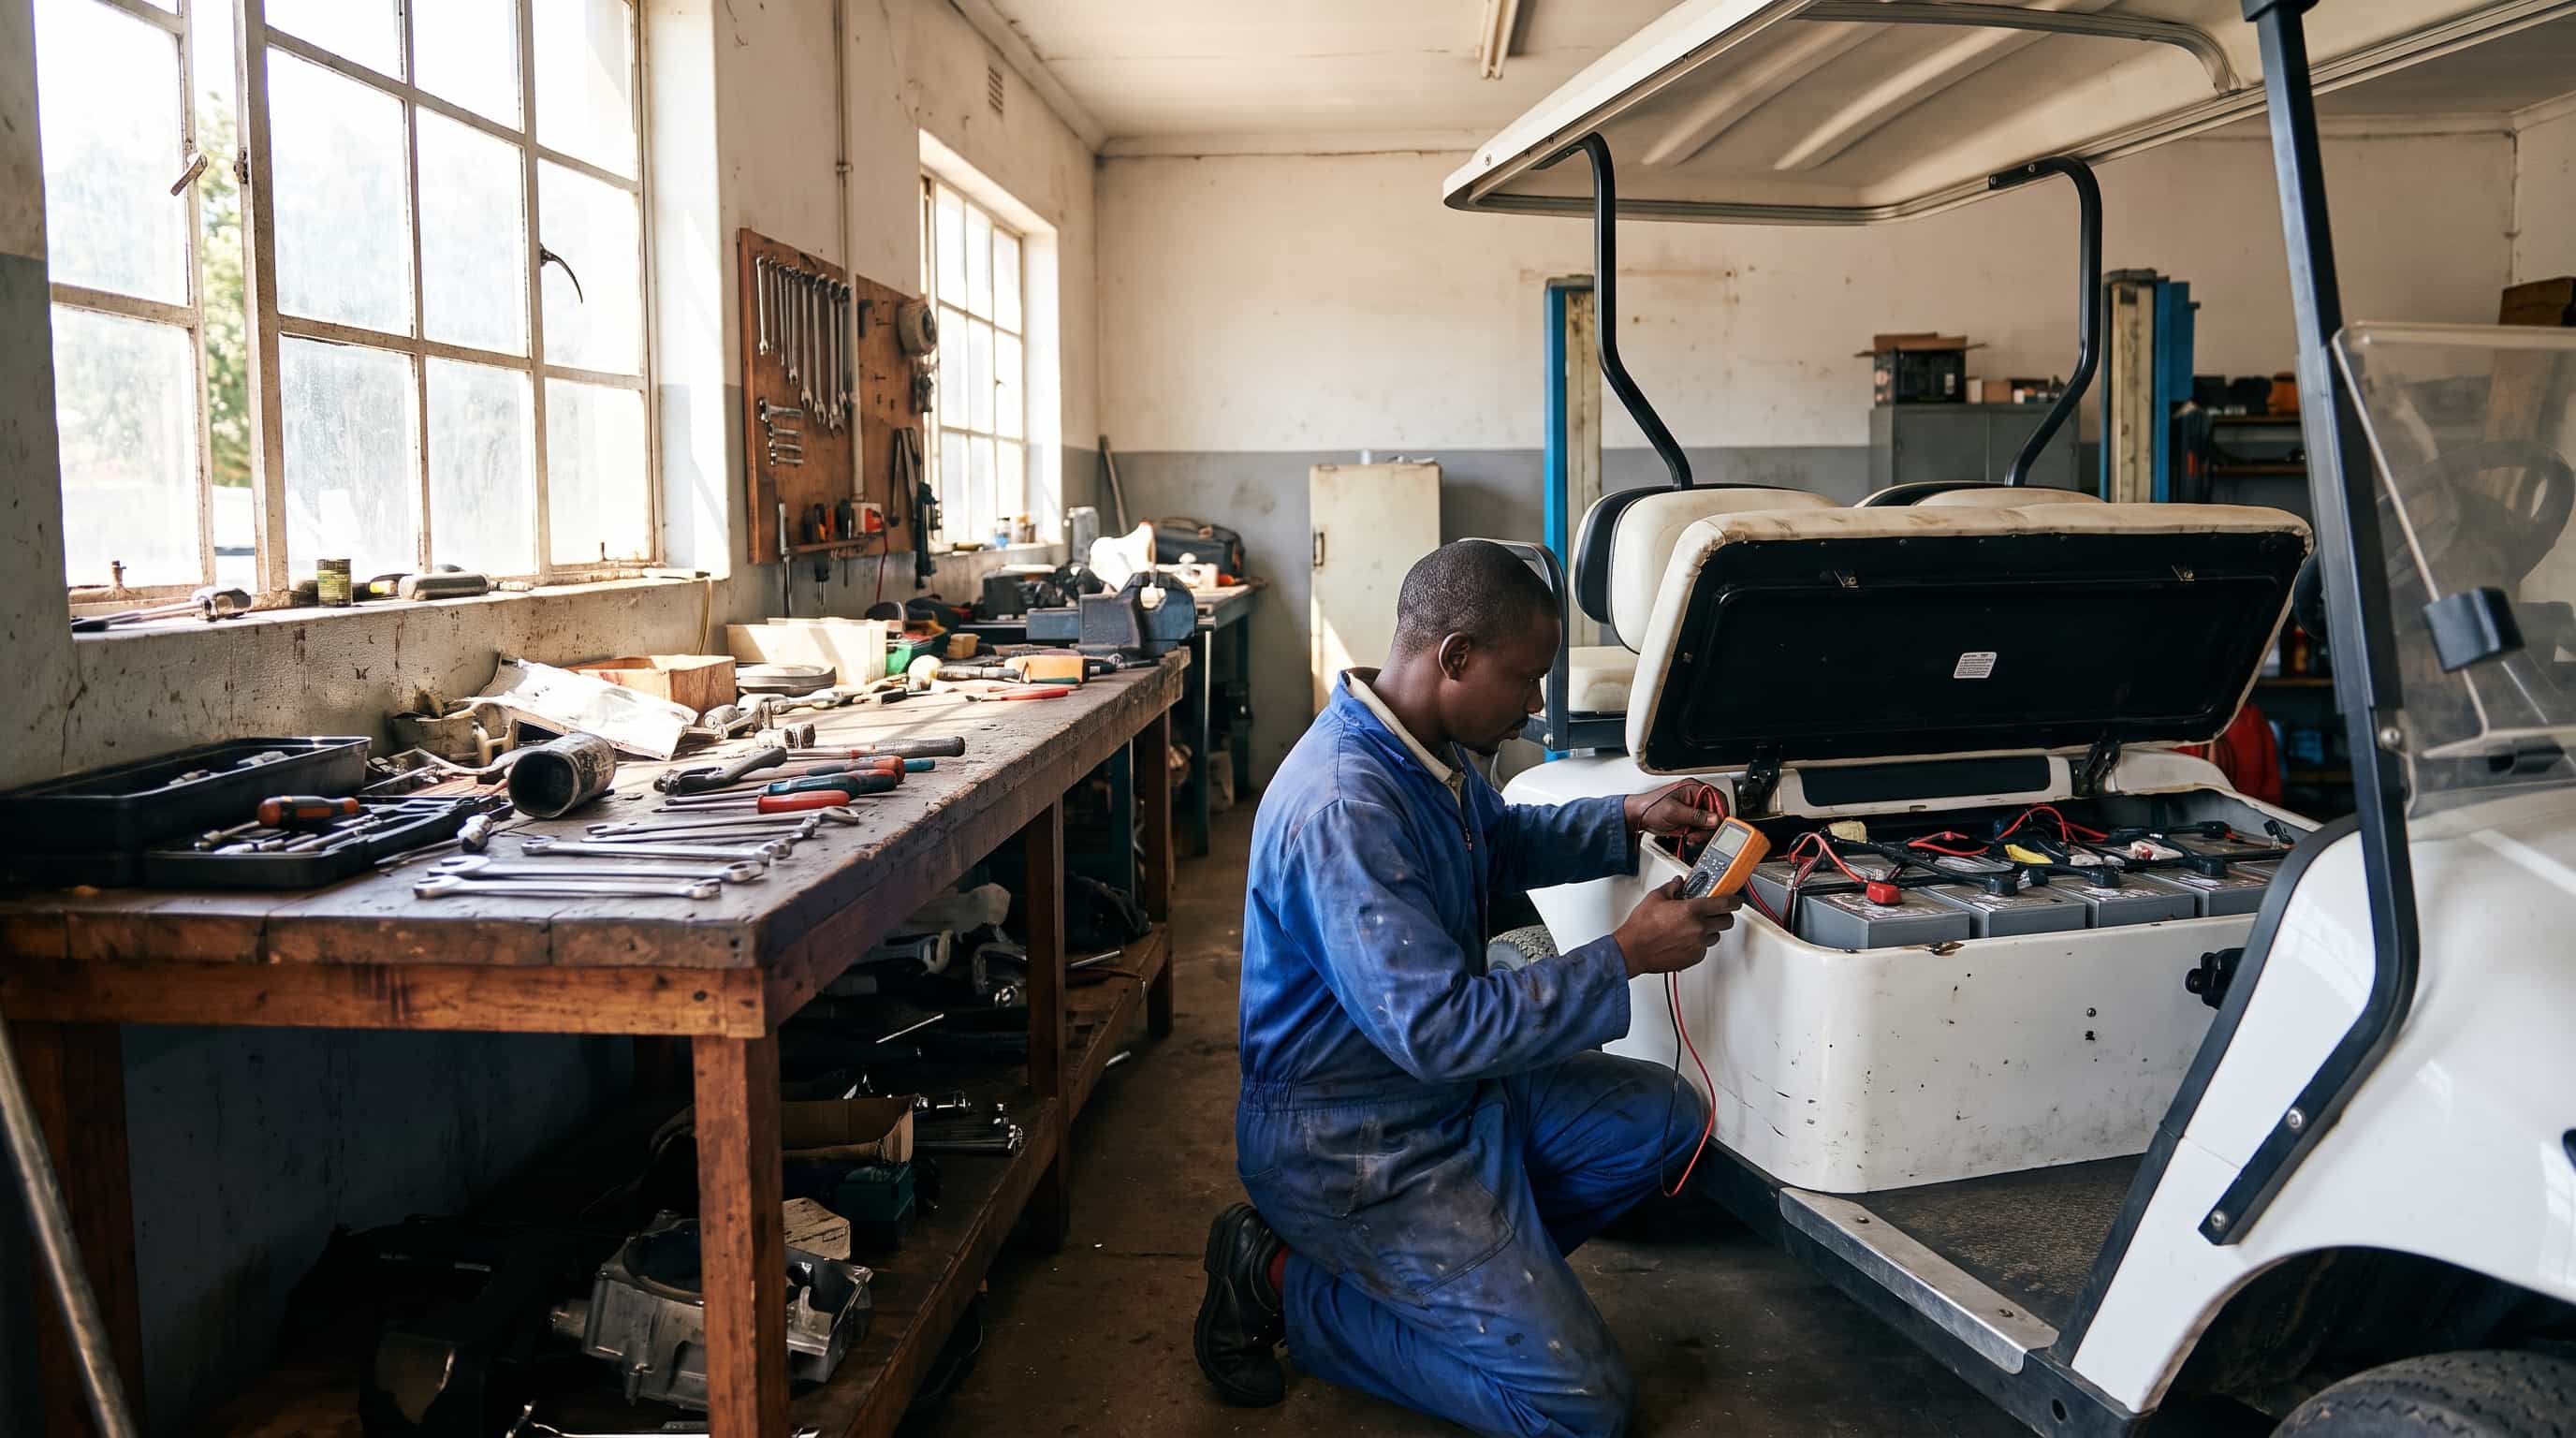
Switch the buggy off and, if it has a battery disconnect or isolator, use it, as the making-safe guide describes. Work in a ventilated space away from flames and sparks, because batteries give off flammable gas. Put your eye protection on and keep it on for the whole job. If, when you lift the seat, any battery is swollen, cracked, leaking or hot, or there is a strong smell, stop here: that is a damaged battery and a hazard for a competent person, not a cleaning job.
Step by step
1. With the buggy off and isolated, look over every terminal. Note which are corroded (green, white or bluish deposit), loose, or show dark, pitted signs of arcing. Those are your targets. 2. Loosen and remove the connection at a terminal with the correct spanner, working on one at a time so you do not disturb more than you need. Keep the spanner clear of any other terminal as you work. 3. Clean the terminal post and the connector back to bright, clean metal with the wire brush or terminal cleaner, removing all the corrosion. Wipe away the debris with the cloth. 4. Refit the connection and tighten it correctly, firm enough not to arc or work loose, but not so hard that you damage the post. A connection that is both clean and properly tight is the goal. 5. Repeat for each terminal that needed it, and do the others while you are there. Then apply your terminal protection to slow corrosion returning. 6. Wipe the battery tops clean and dry, since a dirty, damp top can leak current and corrode faster. Close up, remove the isolation, and test the buggy.
If yours is doing this and the checks here have not settled it, we diagnose and repair buggies, including a callout to wherever it is.
What the result tells you
If a dead, weak or cutting-out fault clears after this, a poor terminal was the cause, which is common and cheap. If it does not, you have at least ruled out the terminals and can move to the next suspect, the cables, the battery health, or the safety switches, using the relevant guides. Either way, clean, tight terminals are worth having, so the job is never wasted.
When to stop and call an engineer
Stop if any battery is swollen, cracked, leaking, hot or strong-smelling: that is a hazard, not a clean, and it goes to a competent person. Stop if a terminal or cable is badly burnt or melted, since that is damage beyond a clean. And if cleaning the terminals does not fix the fault and the next steps are beyond you, that is the point to request an engineer rather than keep guessing.
Common questions
- Is cleaning battery terminals safe to do myself
- Yes, with the precautions: buggy off and isolated, eye protection on, in a ventilated space, and no tool or jewellery bridging two terminals. It is one of the most useful owner jobs, curing many dead, weak and cutting-out faults cheaply. The one firm stop is a swollen, leaking or hot battery, which is a hazard for a competent person, not a cleaning job.
- How do I know the terminals are the problem
- Look for corrosion (green, white or bluish deposit), looseness, or dark, pitted signs of arcing on the terminals, alongside a dead, weak or cutting-out buggy. The terminals carry all the current, so a poor one causes exactly those faults. Cleaning and tightening them, then testing, confirms whether they were the cause.
- What if it still will not work after cleaning
- Then you have ruled out the terminals, which is progress. Move to the next suspect using the guides: the battery cables, the battery health, or the safety switches for a no-drive fault. If the next steps are beyond you, or you find damage, request an engineer rather than continuing to guess.
Still not right
We diagnose and repair golf buggies, service them on a plan, and send an engineer out to where the buggy is. Tell us the symptom and we will say what it usually means.
Related pages
Related guides
 Golf buggy troubleshooting, a complete guide9 minute read
 Squealing or grinding noises explained6 minute read
 Golf buggy steering wanders4 minute read
- Golf buggy battery terminals and connections4 minute read
- Golf buggy battery safety, acid, gas and handling5 minute read
 Golf buggy won't start: causes and fixes6 minute read